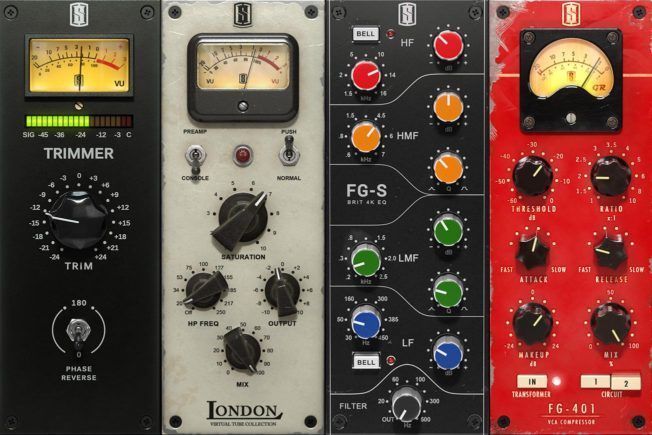
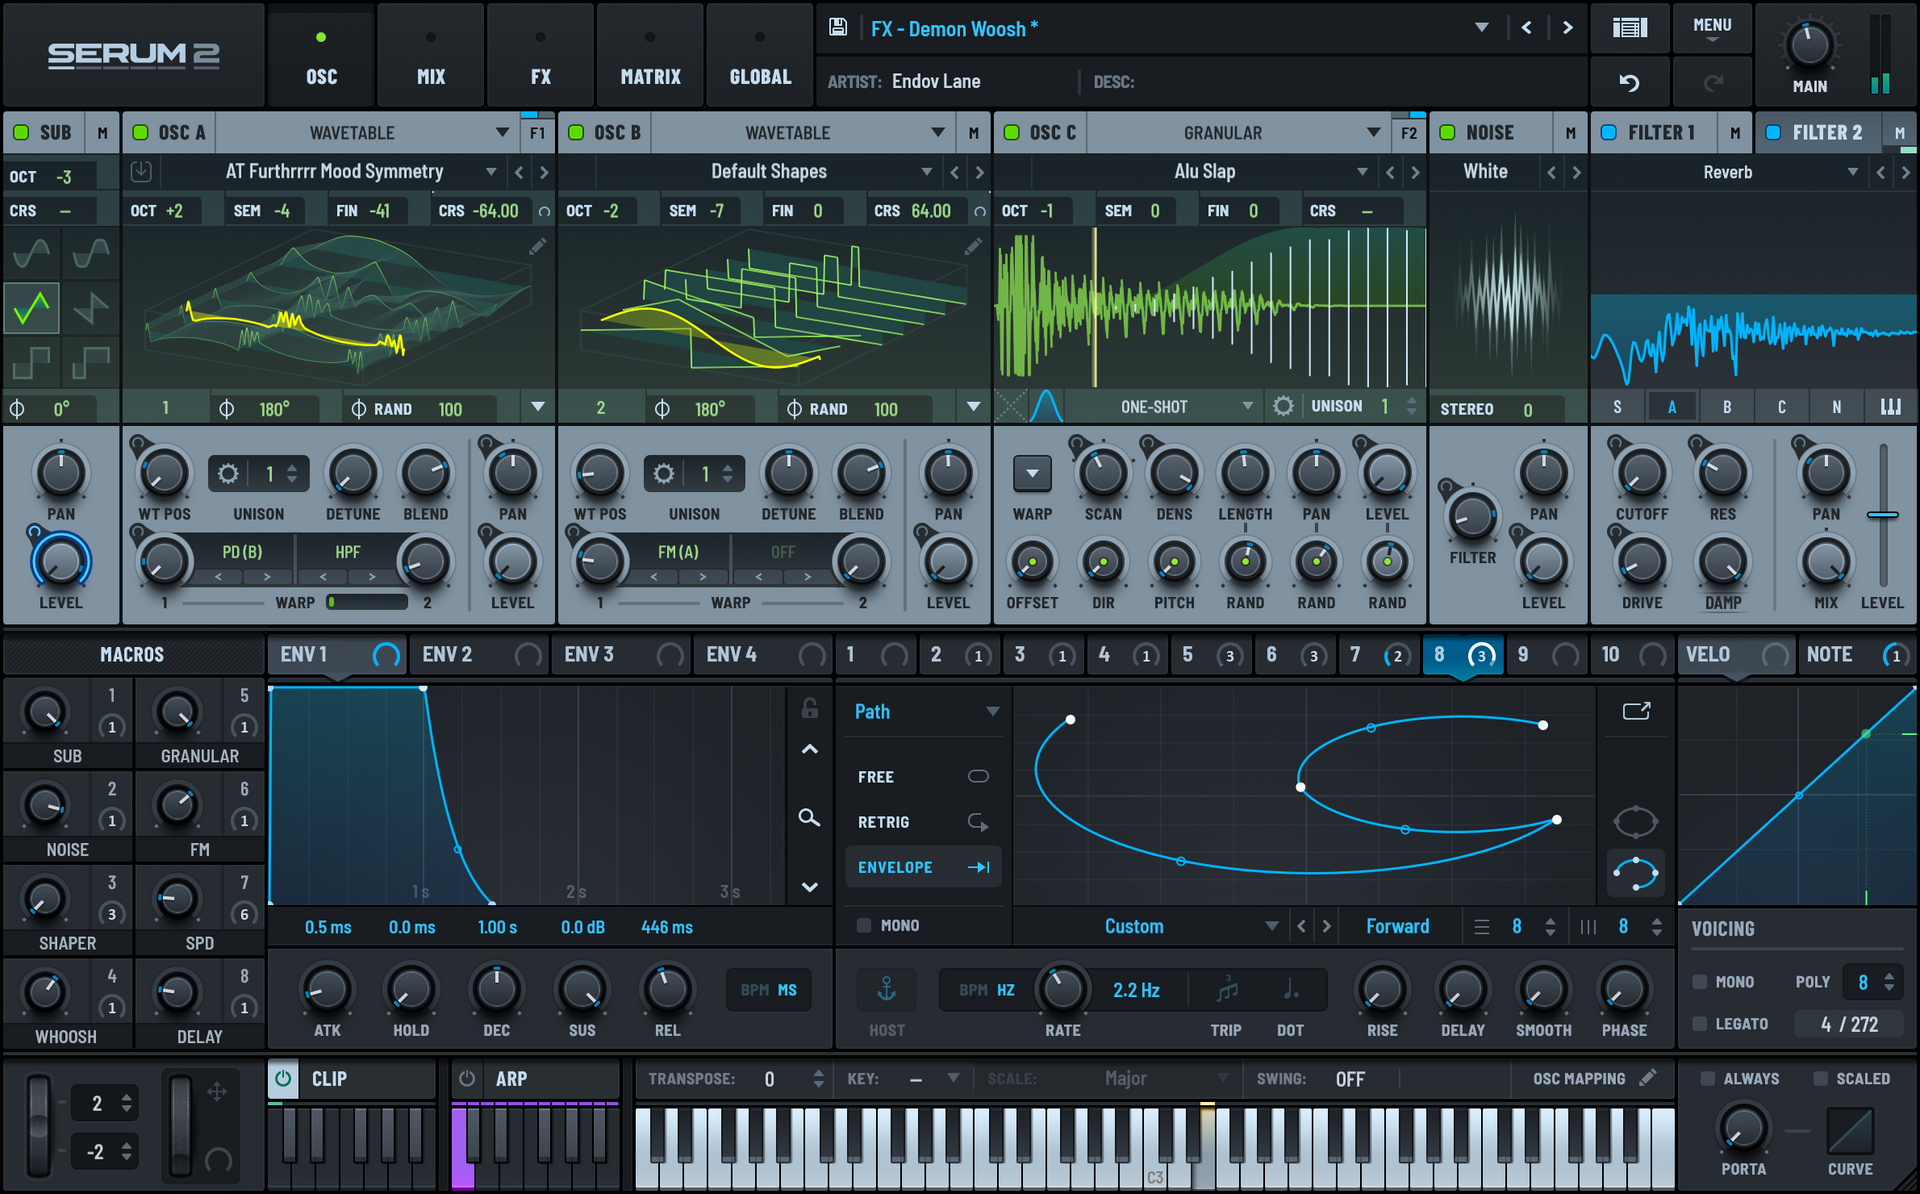
What’s the Best Effects Chain Order for Mixing?
What’s the best effects chain order for mixing? Learn how the plugin order of your effects chain makes a difference to the sound.

Does the Effects Chain Order Matter?
The order of your plugins in an effects chain does matter. A plugin will affect the sound differently depending on its position along the effects chain. Knowing how the order of plugins influence sound can help you make mix decisions and troubleshoot problems.
What’s the correct order for plugins in an effects chain? This topic is confusing because there is no absolute rule. The order you insert your plugins depends on the source material, what you’re trying to achieve, and what sounds best to your ears. There is not a right and wrong order.
However, there is a traditional order of effects widely adapted. This workflow provides a good starting point. Moreover, it’s important to remember these are general mixing suggestions and not hard rules. Using the same order of plugins may not work for every sound or situation. Swap the order and remove or add plugins as needed.
1. Gain Staging
Gain staging is managing levels at each stage of the signal path. Maintaining the gain structure gives your mix sufficient headroom and dynamic range for mixing. It also ensures the audio signal flow is at an optimum level without clipping as it passes through various processors and mixer stages.
Inserting a gain plugin first in the chain allows you to adjust your levels before further processing. You can also insert a gain plugin anywhere needed along the effects chain to prevent clipping. Avoid running a “hot” signal into a plugin. Overloading a plugins input signal will give you poor results.
2. Saturation
Saturation adds presence, character, warmth, excitement, punch, and cohesion. Driving sounds through tubes, transistors, and circuitry has long been the key ingredient in achieving analog sounding mixes.
Saturation enhances sounds by adding even and odd order harmonics. These harmonic frequencies make a digital-sounding mix sound full, fat, and warm. It also helps sound translate on small speakers that can’t reproduce lower frequencies like earbuds, laptops, and phones.
Inserting a saturation plugin before an EQ allows you to cut or minimize unwanted harmonic frequencies created by saturation. However, it’s also suitable to saturate after EQing.
3. Subtractive EQ
Subtractive EQing removes problematic frequencies, creates clarity, and adds presence. The goal is to clean up the sound and minimize problematic frequencies that might get boosted by the compressor.
Use a parametric EQ to cut unwanted sub frequencies and harsh resonances. Avoid boosting in this first stage of equalization. It’s often better to boost with a second EQ after making corrective moves with subtractive EQing and compression.
4. Compression
Compression smooths out the dynamic range of a sound to maintain constant levels. It also adds loudness, cohesiveness, punch, and helps shape the tone. However, used incorrectly can reduce the impact of the sound, so only apply compression when needed.
This first stage of compression focuses on corrective work. Use a compressor to control dynamic range and catch the loudest peaks. Inserting the compressor after a subtractive EQ prevents unwanted frequencies from triggering the compression.
5. Additive EQ
After doing corrective work with subtractive equalization and compression, try shaping the tone with additive equalization. Tonal equalization adds presence and character. For example, it’s common to boost the high end to add presence in pop and electronic music.
The best way to shape tone is with an analog modeled EQ . Analog modeled equalizers emulate the circuity and musical character of their classic hardware counterparts. Analog modeled EQs also add, warmth, presence, punch, and sheen to your music.
It’s common practice to use a combination of digital and analog-style EQs. For example, digital EQs are excellent for corrective work because they are precise, flexible, and transparent sounding. Whereas analog-modeled EQs are ideal for tonal work and sweetening. They excel at emphasizing or attenuating certain frequency bands in a broad, musical manner to achieve clarity and punch.
6. Modulation Effects
After achieving an ideal frequency balance and dynamic range, add modulation effects if needed. Common modulation effects include chorus, flanger, phaser, tremolo, stereo width, and auto-pan. These creative audio effects add movement, depth, width, and character to sounds.
It’s common to insert creative effects after corrective work in post-production. Some prefer to get the basic sound down before modulating or adding ambiance. However, it’s also common to apply modulation effects before corrective effects during the sound design process.
Again, there are no rules. It might sound better to insert a modulation effect before the subtractive EQ and compressor. This workflow is logical if you want to clean up the sound and tame dynamics after creative processing. Use your ears!
7. Reverb and Delay
Reverb and delay effects are typically inserted towards the end of the chain or on return tracks. These time-based effects add a sense of space, dimension, and fullness to your mix. They also provide that integral polish that immerses listeners.
The order of these two effects will also make a difference. For example, when using delay and reverb together, it’s common to insert the delay before the reverb. This way the reverb doesn’t wash out the sound before it hits the delay.
8. Limiting
Limiters are essential dynamic processing tools used for mixing and mastering. At a basic level, limiters reduce the peaks in a waveform and prevent them from exceeding a digital ceiling. The result reduces the dynamic range of an audio signal and increases perceived loudness.
Insert a limiter towards the end of your effects chain to reduce excessive transients, control dynamics, glue sounds together, boost levels, and add power. However, not every sound requires limiting. Only apply a limiter if it’s needed.
9. Sidechaining
Sidechain compression creates separation between elements and helps them punch through the mix. It also minimizes phasing and frequency masking between the two elements.
A sidechain compressor uses an external sound source to quickly reduce the volume of a sound. For example, sidechaining a bass track will lower the bass volume every time the kick strikes. This technique allows the kick to cut through the mix more clearly. It will also give the kick more of an impact.
Applying sidechain compression last in the effects chain also helps control reverb and delay tails. In addition, it gives you more flexibility to adjust the amount of sidechaining without affecting the signal input of other effects plugins.
10. Volume
Inserting a gain plugin last in the chain allows you to adjust your levels further if needed. It’s also recommended to insert a gain plugin at the end of the effects chain if you plan on using volume automation.
Automation is an essential process that helps make your music sound more compelling, exciting, and dynamic. It’s better to apply automation using a gain plugin instead of the tracks volume fader. This method keeps the volume fader free to make further gain staging adjustments.
Conclusion
This guide aims to help you understand how the order of effects plugins can make a difference. Becoming familiar with how the output of a plugin can influence the next plugin in the chain will help you make informed decisions.
There are also logical reasons to use a particular plugin before another. However, the order may not work for every sound or scenario. In addition, not every sound requires all the effects plugins outlined in this guide. It’s crucial to use your ears and to only apply an effect plugin for a purposeful reason.
Lastly, remember there are no rules. Try swapping effects around to hear the difference. Also, try different combinations on various elements to hear what sounds best. Good luck!
The post What’s the Best Effects Chain Order for Mixing? appeared first on Los Angeles and Online.


