Looking for a MIDI controller? Sarah Karney offers four buying tips to consider before purchasing your first MIDI controller. Whether you’re looking for a MIDI controller for the studio or the stage, this guide will help you narrow down the right controller for your needs.
MIDI Controller Buying Guide
If you’re looking to put your new skills from ICON Collective into practice at home, incorporating your own MIDI controller into your training can give you a more holistic production experience. However, shopping for your first MIDI controller can be overwhelming, especially if you’re just starting out in the production world.
In this guide, we break down a few broad ways you can begin narrowing your search for the perfect controller that fits your needs.
1. Budget
Some controllers run up into the multi-thousand dollar mark. However, it’s not difficult to find a high-quality controller that will fit both your needs and your budget for much less than that. There are many industry-leading picks that fall into the $100-$150 range.
You’ll also often pay more for brand recognition. While there are numerous choices on the market, going with a brand known for reliability and quality products can save you money in the long run. Going with a cheaper, more cheaply-produced options may not last as long as a robust controller. This holds true in a controller’s appearance as well; make your decision based on the technology within, rather than how cool or fancy the controller’s outward appearance is.
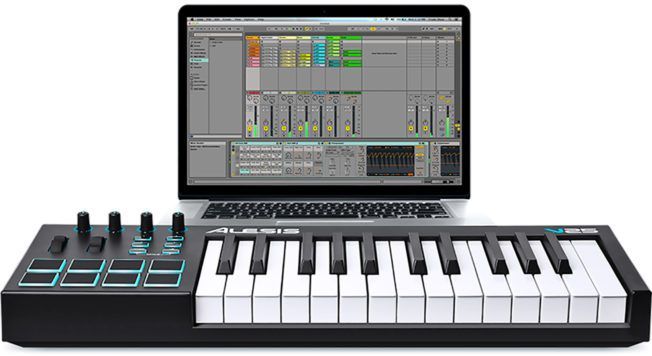
You can also stretch your budget by looking for controllers that come bundled with software like Ableton Live Lite or third-party plugins. In addition, pay close attention to the built-in features. Don’t pay more for a controller that has features and options you may not ever use. Also, make sure to read the fine print. Most modern MIDI controllers are compatible with popular DAWs. However, some are specifically designed to work with a specific DAW such as the Ableton Push. Moreover, going with a specialized controller gives you the advantage of saving time on mapping the controls to the dedicated software.
2. Keyboard Keys
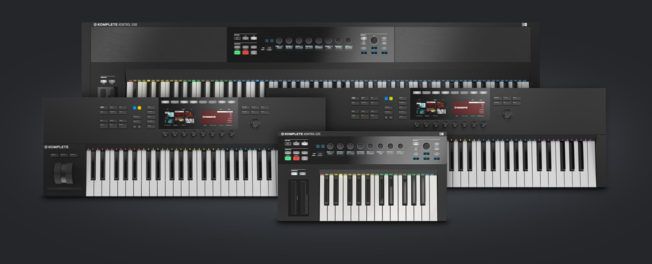
You’ll most commonly find MIDI controllers with key counts sitting at 25, 49, 61, or even 88 keys. There are also mini controller options with less than 25 keys.
Many artists go with a 49-key option because it is large enough to play with both hands. It’s also important to take the space you have in your home and the type of music you’re creating into account as well. If you’re looking for something portable, a smaller keyboard with 25 or 32 keys may be a better fit.
The specifics of the keys mean more to some producers than others as well. Heavier, weighted keys come at a higher price tag but can feel more comfortable for artists used to playing on a real piano. Most controllers come with plastic keys, which are lighter. It really depends on your personal preference.
3. Primary Use
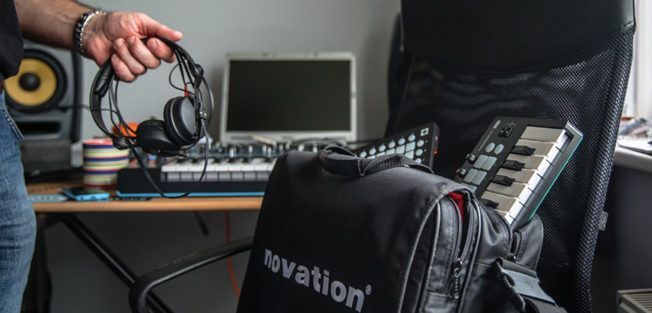
Will you be using your controller mostly in your home studio or will you need something portable for live sets? Take note of the weight and overall size of the controller. As stated earlier, fewer keys will be better when it comes to travel-size controllers.
If you’re hauling around your controller, it can be worthwhile to go with a higher-end brand you know will last on the road and in transit. Choosing something robust is also where those weightier keys may outlast the lighter plastic ones.
4. Pads, Knobs, and Features
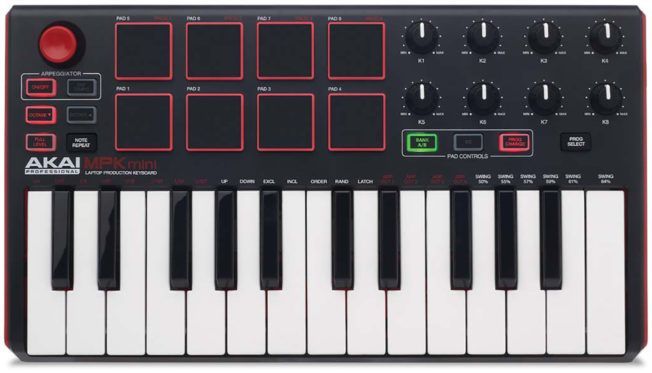
While keys are pretty standard, other niceties like drum pads, faders, and knobs can also be useful depending on what your workflow entails.
If your nose is buried in your computer screen, a simple keyboard may be all you need. However, if you prefer to work with your controller, then all the extra bells and whistles can help you stay in the zone.
Once you’ve determined what assets your controller must have, it will be easier to navigate through the thousands of options available on the market. If you’re ready to browse, a good place to start is by checking out head-to-head comparison blogs and reading reviews.
Final Thoughts
If you’re on an extremely tight budget, consider buying a used controller. Make sure you get the chance to test it out first. Also, remember that you can always upgrade or add more to your collection as you grow. What matters most is finding a MIDI controller that fits your skillset as it currently stands.
Turn your passion for music into a Profession: Learn more about our Music School Programs!
MORE ARTICLES FROM THE ICON BLOG
FIND YOUR SOUND, HONE YOUR CRAFT:
Are you ready to turn music into a career? ICON prepares students to become music producers, composers, performers, recording artists, professional DJs, and entrepreneurs in the entertainment industry. Click below to get information about our award-winning programs: